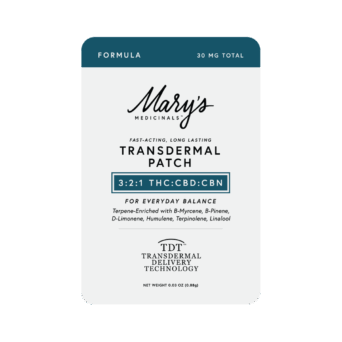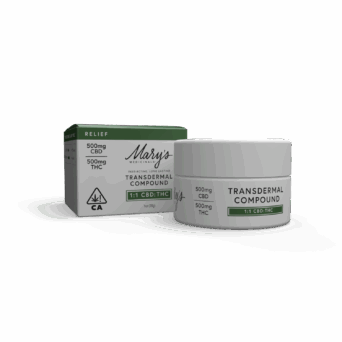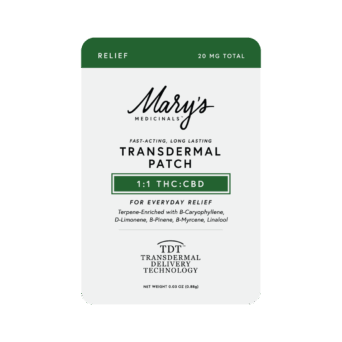
Where to apply THC patches is one of those small details that ends up making your whole day easier. Put your patch in the right spot and it tends to stay flat, feel comfortable, and deliver a steady experience that fits into work, errands, the gym, or a quiet night in. Put it in a high-friction spot and you may spend the afternoon pressing corners back down.
Below, you’ll get a practical “do this, not that” guide to placement, skin prep, and rotation, plus a few discreet-location ideas that people actually use in real life. You’ll also see how Mary’s approach to transdermals is different from a surface-level topical.
Why where to apply THC patches matters (it’s not just about hiding it)
A transdermal patch is made for systemic delivery, meaning cannabinoids move through the skin and into your bloodstream over time. That design is why where you place it can influence how smoothly it wears and how consistent it feels. Areas with more accessible circulation near the surface, often called venous areas, are commonly recommended for transdermals. You can see this explained in Marijuana Doctors’ overview of transdermal cannabis patches.
With Mary’s Medicinals, transdermal means built for depth. Our patches are formulated to go 7–10 layers deep all the way into the bloodstream, with accurate dosing and a discreet, set-it-and-move-on style of use. If you like the idea of support that stays in the background, that’s the point.
Where to apply THC patches for absorption: venous areas you can actually live with
If you want a simple rule: pick a spot with thin skin, decent blood flow, minimal hair, and low rubbing from clothes. Weedmaps also calls out circulation and avoiding hairy or high-movement areas in their guide to THC patches.
These are the go-to placements most people settle into:
- Inner wrist: Easy venous area, easy to check quickly. If you type a lot or wear bracelets, move slightly up the forearm so it’s not constantly bumped.
- Inner knee: A favorite for discretion, especially under pants. Just keep it away from where your shorts rub.
- Top of foot: Comfortable for longer wear and usually protected by socks. It also tends to avoid the “constant flex” problem you get near joints.
Try not to place a patch directly on elbows, front of knees, or anywhere that bends all day. Repeated movement can lift edges and turn a good plan into a fussy one.
Where to apply THC patches for comfort: think friction first, then visibility
Comfort is mostly about what your clothes and your routine are going to do to the patch over the next several hours. Before you stick it on, do a quick mental run-through of your day:
- Are you wearing a abrasive shorts, long sleeves, or open footwear?
- Do you have a lot of sweating and drying throughout your day that sits in the same place all day?
- Will you be walking a lot in shoes that rub?
If the answer is “yes,” pick a calmer spot. A little breathing room helps the adhesive stay smooth and helps you forget it’s even there.
Heat matters too. Your body warmth supports transdermal delivery, but extra heat from hot tubs, saunas, heating pads, or very hot showers can add variables you probably don’t want. If you’re wondering what daily life looks like with water and sweat, read Mary’s breakdown of what “water-resistant” really means for THC patches.
Skin prep that keeps THC patches steady (no complicated routine)
You don’t need a 10-step process, but you do need clean, oil-free skin. Lotion, body oil, sunscreen, and even leftover deodorant can make a patch slip or lift early. Exclusive Cannabis notes how transdermal patches rely on body heat and why clean skin supports consistent use in their guide to transdermal patches.
- Wash and dry the area, or at least make sure it’s clean and fully dry.
- Skip lotion right before application. If you moisturized already, choose a different spot.
- If you have an alcohol pad, wipe the area and let it air-dry completely.
- Press firmly for 10 to 20 seconds, especially around the edges.
- Give it a minute before dressing so fabric doesn’t tug it out of place.
A small tip that feels obvious after you’ve learned it the hard way: if you’re applying on the foot, sit down and relax your foot. Applying while you’re balancing on one leg tends to place the patch right where your skin creases when you walk.
Where to apply THC patches for discretion: low-key spots that don’t draw attention
The nice thing about patch use is how normal it feels. No smoke, no smell, no special “break.” Zen Leaf has a helpful overview of why transdermals appeal to people looking for a smokeless option with steady, long-term release in their guide to cannabis transdermals.
If your goal is truly “no one notices,” start here:
- Top of foot under socks (avoid sandals or open shoes)
- Inside of Wrist under shirts
- Behind Knee under a pant that stays put
If you wear tighter clothing, choose a location that won’t be constantly compressed. Pressure and rubbing are the two most common reasons patches start to peel.
Rotate your placement so your skin stays happy
If you use patches regularly, rotation is your best friend. Even when you’re careful, using the same spot repeatedly can lead to dryness or sensitivity. Keep it simple and cycle through a few reliable areas.
- Day 1: inner left wrist
- Day 2: inner right wrist
- Day 3: top of left foot
- Day 4: top of right foot
If a spot looks irritated, skip it for a while and switch to a different venous area. Comfortable, consistent use beats forcing your favorite placement.
Should you apply a THC patch right where you feel discomfort?
It’s tempting, and you’re not alone for thinking that way. But a transdermal patch is built for systemic delivery, so placing it directly on a sore area doesn’t automatically make it targeted like a surface topical.
If you want to understand the difference in plain terms, Mary’s breaks it down in Transdermal vs Topical Cannabis: The Real Difference Explained. And if you want to explore options across both formats, you can browse our Transdermal & Topical Products collection.
FAQ: Where to apply THC patches
What’s the best place for where to apply THC patches for absorption?
Venous areas with thinner skin and steady circulation are a solid starting point, like the inner wrist, top of foot, or back of knee. Aim for minimal hair and minimal friction so the patch maintains good contact.
Can you put a transdermal THC patch on your knee or elbow?
You can, but it’s usually not ideal. Joints bend constantly, and that movement can lift edges or cause the patch to wrinkle. For less fuss, choose a spot that stays relatively still during your day.
How long does it take to notice a THC patch?
Most people describe patches as gradual and steady rather than immediate. Timing can vary based on the patch, your body, and where you place it. If you’re new, start on a low-friction venous area and pay attention to how it feels over a few uses.
How do you keep THC patches discreet at work or out in public?
Pick a location that’s covered by clothing and not constantly rubbed, like the inner ankle under socks, the upper arm under sleeves, or the lower back under a shirt that doesn’t ride up. Clean, dry skin helps the patch lie flat so it’s less noticeable.
Do you need to rotate where to apply THC patches?
Yes. Rotating helps reduce skin irritation and keeps your routine comfortable long-term. A simple rotation across wrist, arm, ankle, and lower back works well for many regular users.
Conclusion: choose the spot that matches your day
The best answer to where to apply THC patches is usually a venous area with thin skin, good circulation, and low friction from clothing. Start with the inner wrist, top of foot, or back of knee. Prep the skin, press firmly, and rotate your sites so patch days stay easy.
If you want a simple next step, explore Mary’s transdermal options, then try a couple placements over a week and see which one fits your routine best. Once you find your spot, it really can feel set-and-forget.